Manage Forms
Creating a Form
Option 1: Create from scratch
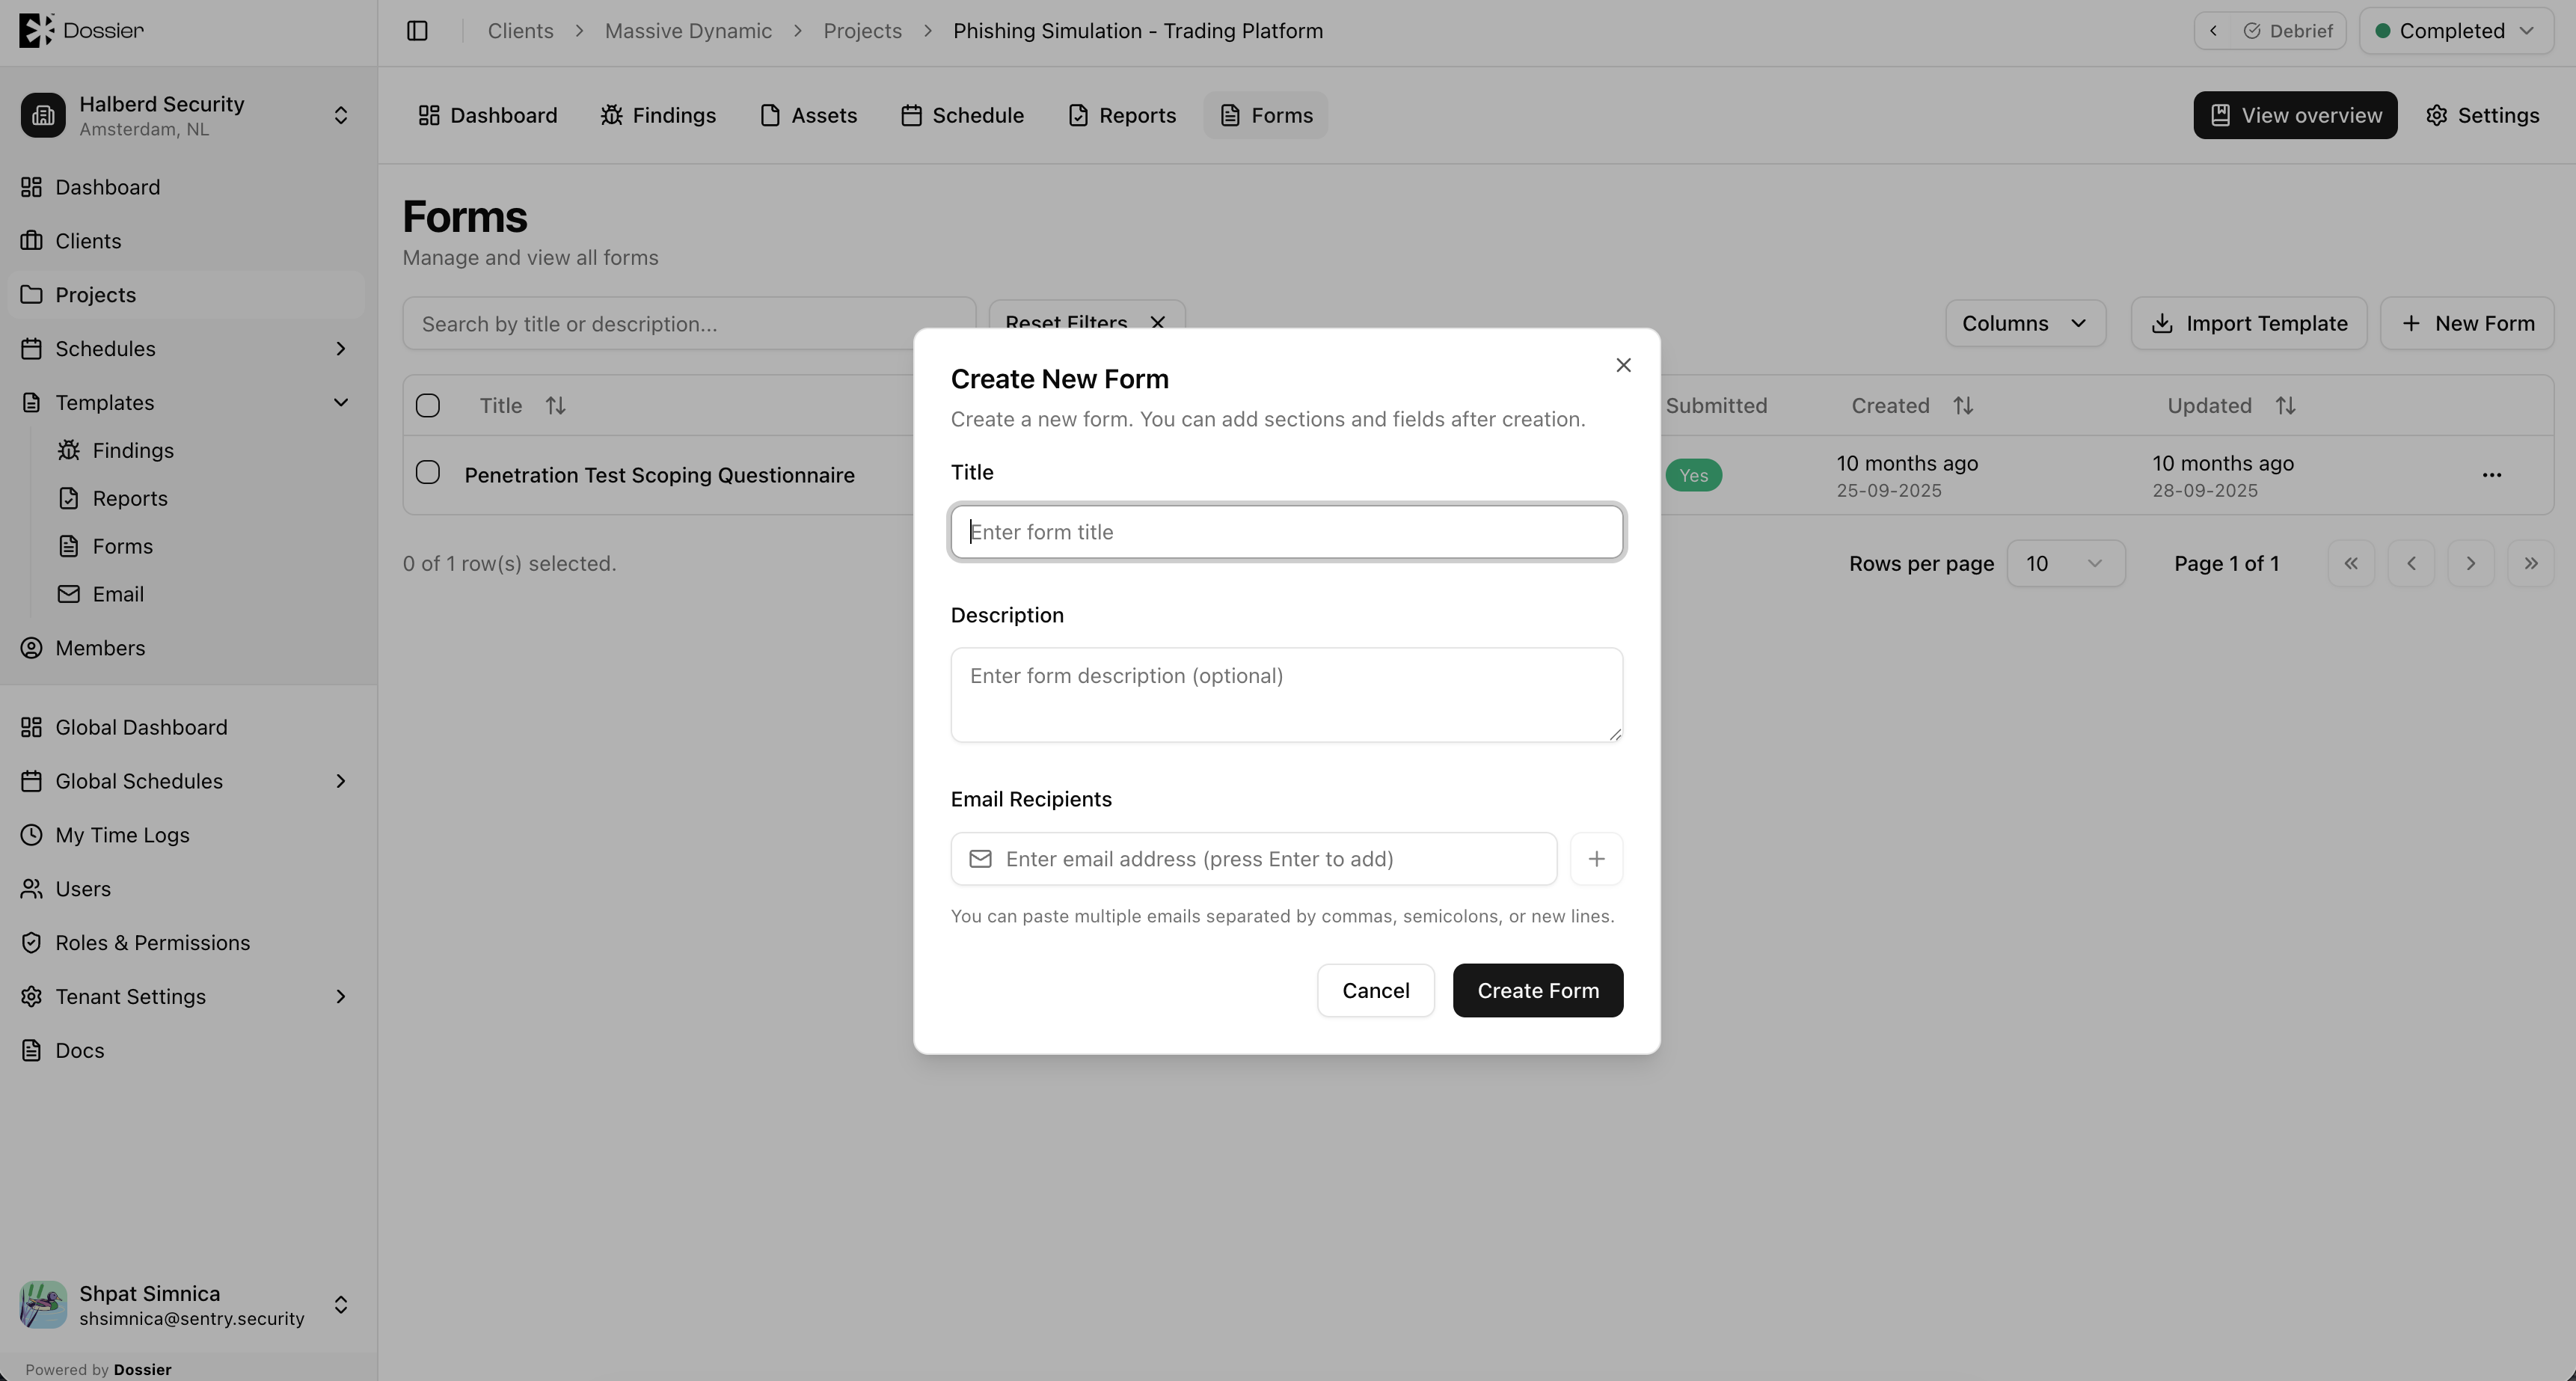
- Open a project and click Forms in the section navigation.
- Click New Form.
- Enter a title and click Create.
Option 2: Import from a template
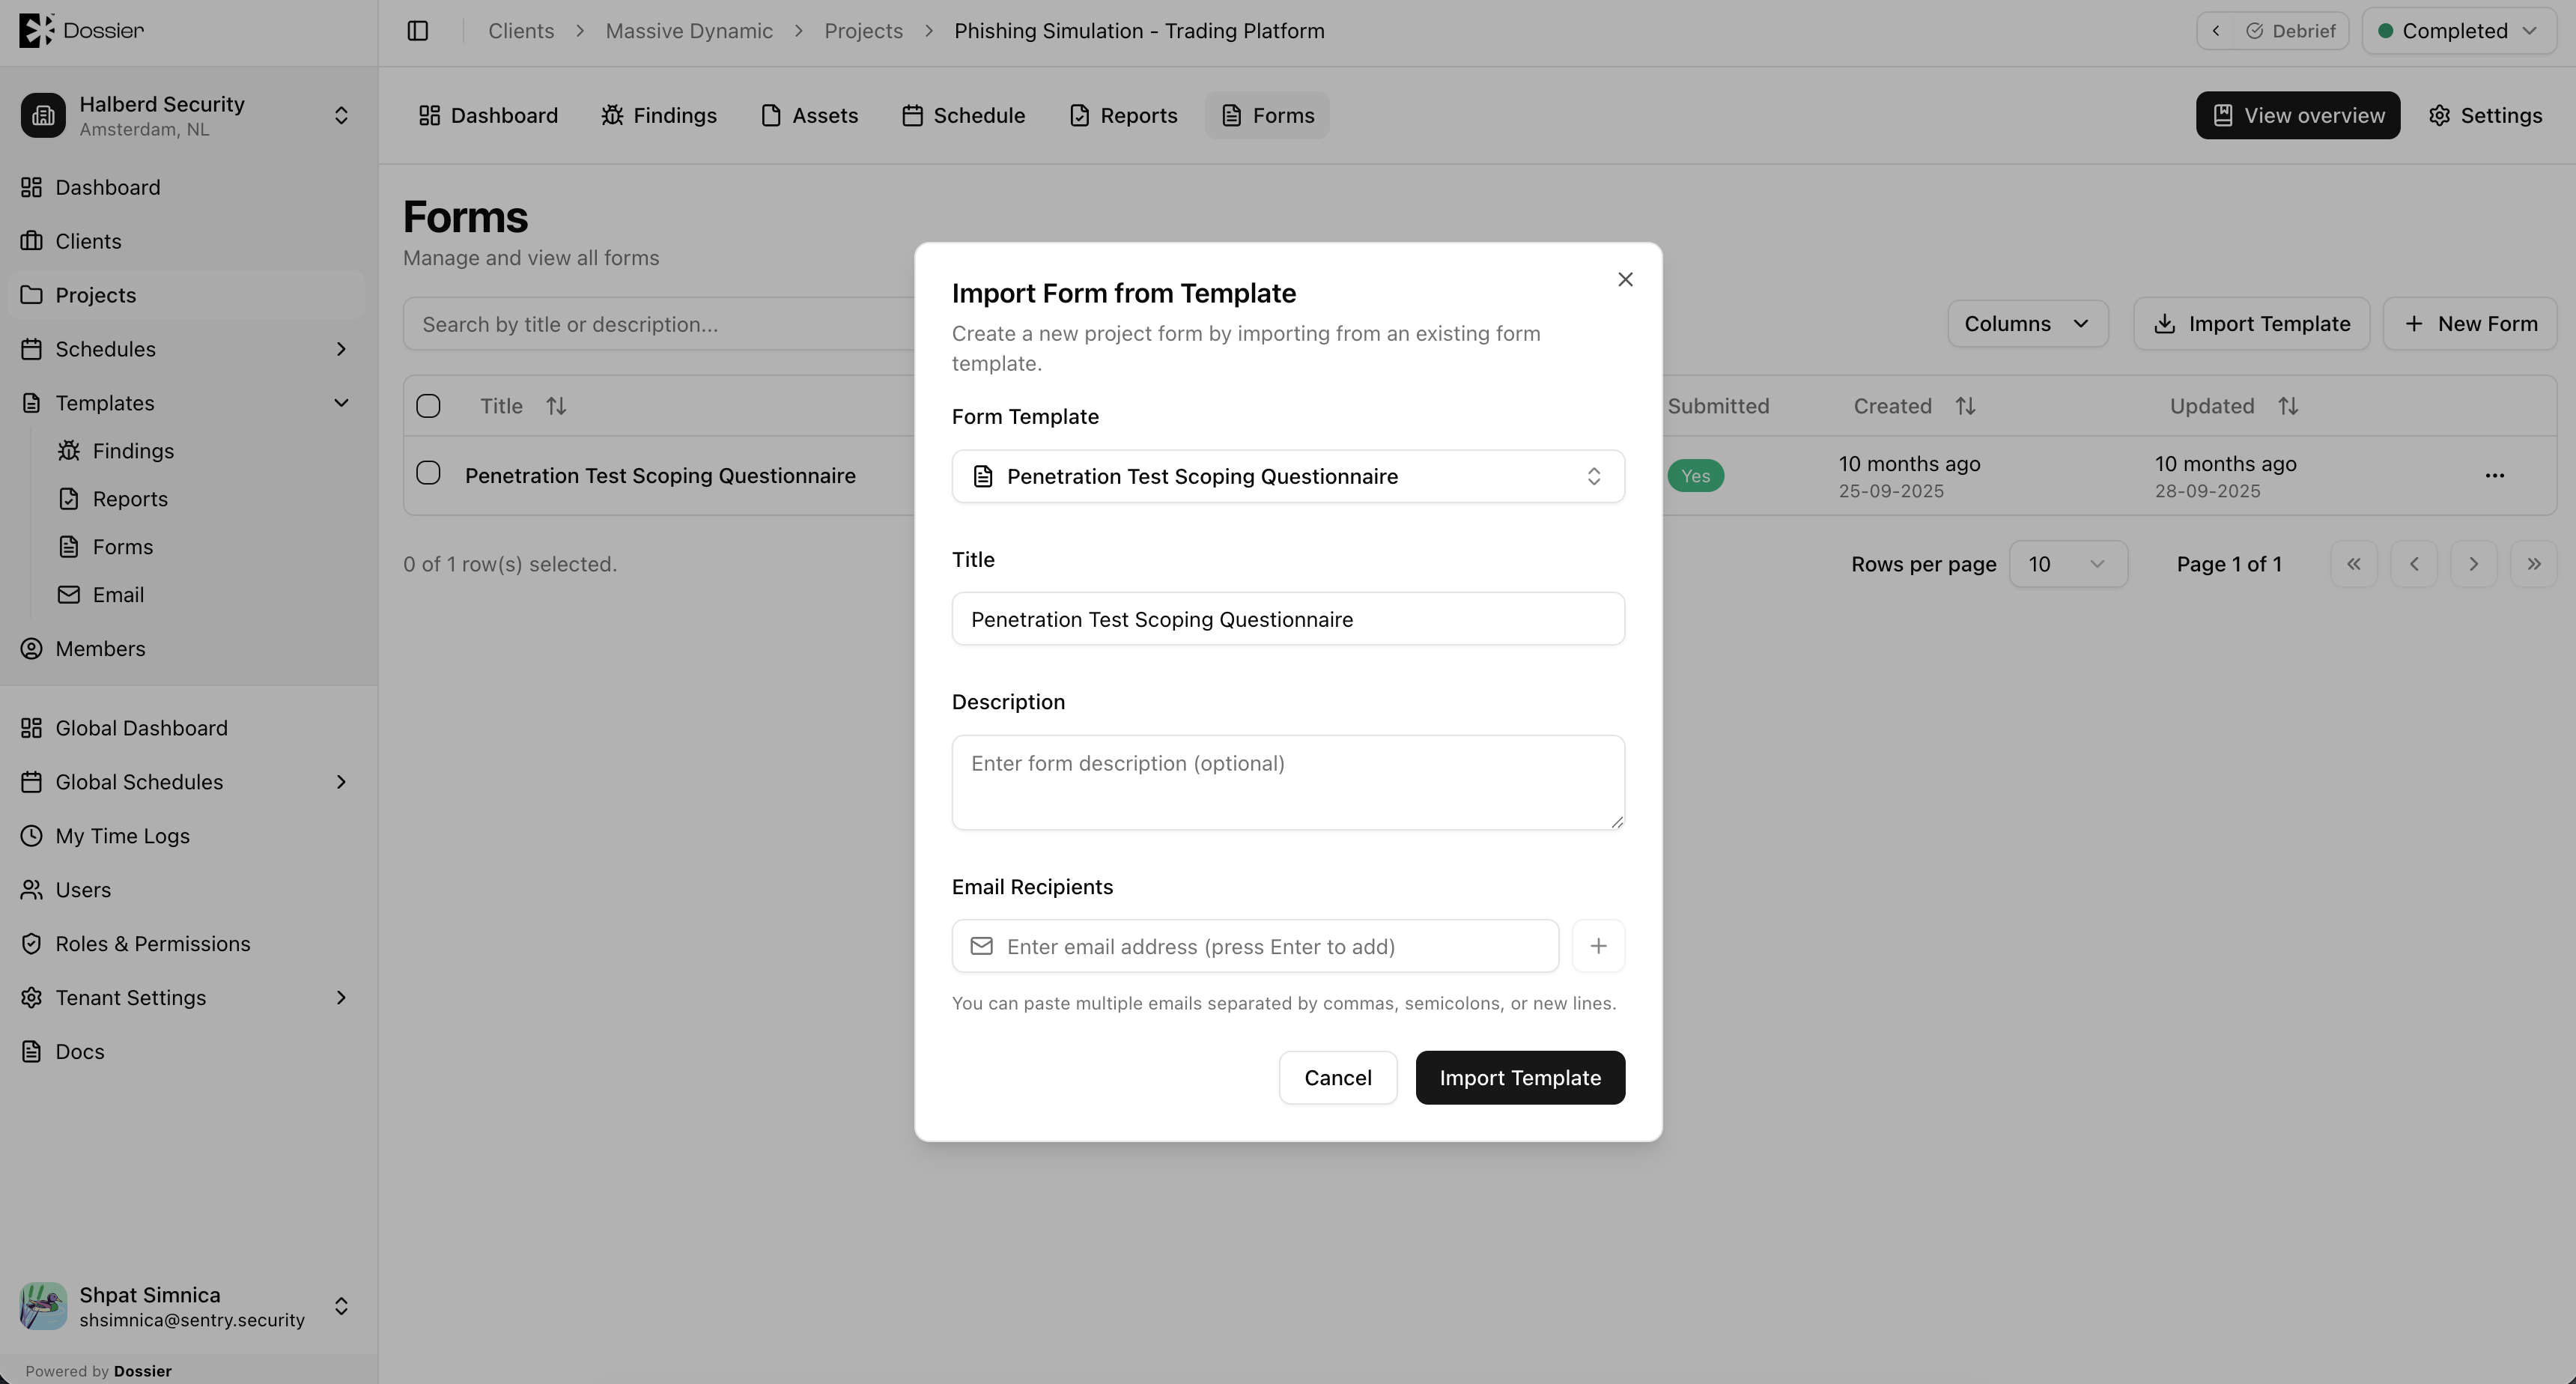
- Click Import Template on the Forms list.
- Select a form template from the organization.
- The template's sections and fields are copied into a new project form.
Editing a Form
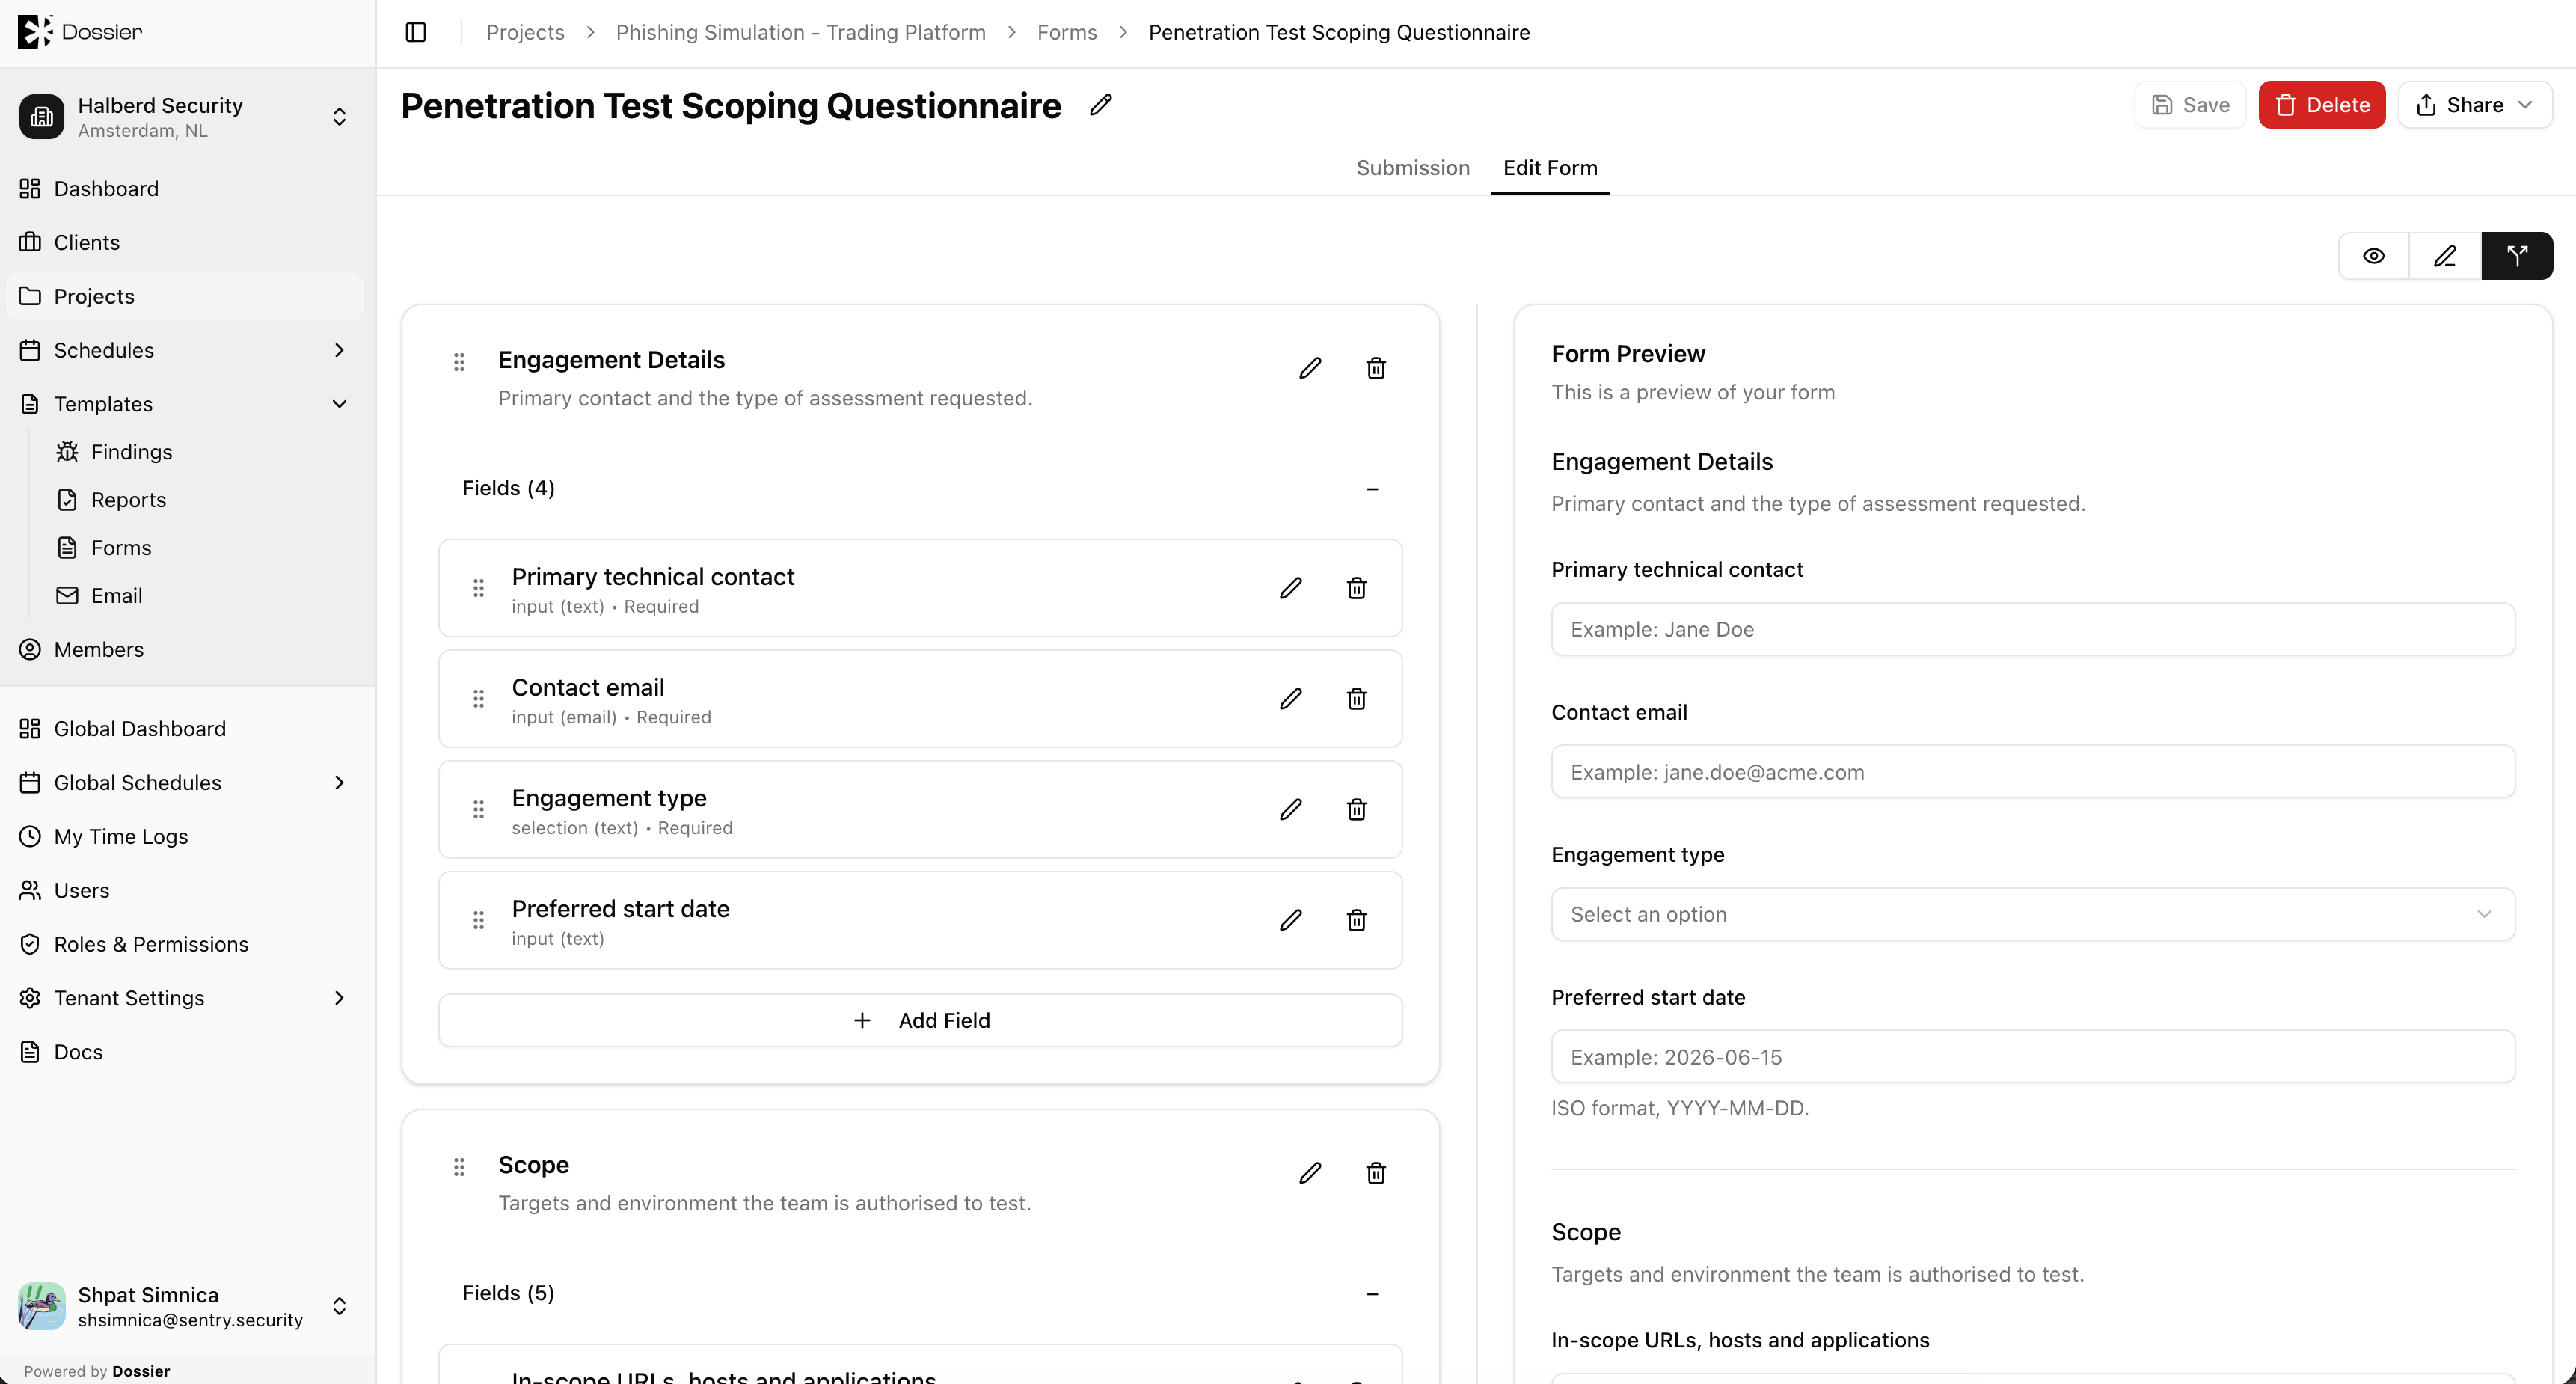
Step 1: Open the form builder
Click a form row to open the dynamic form builder.
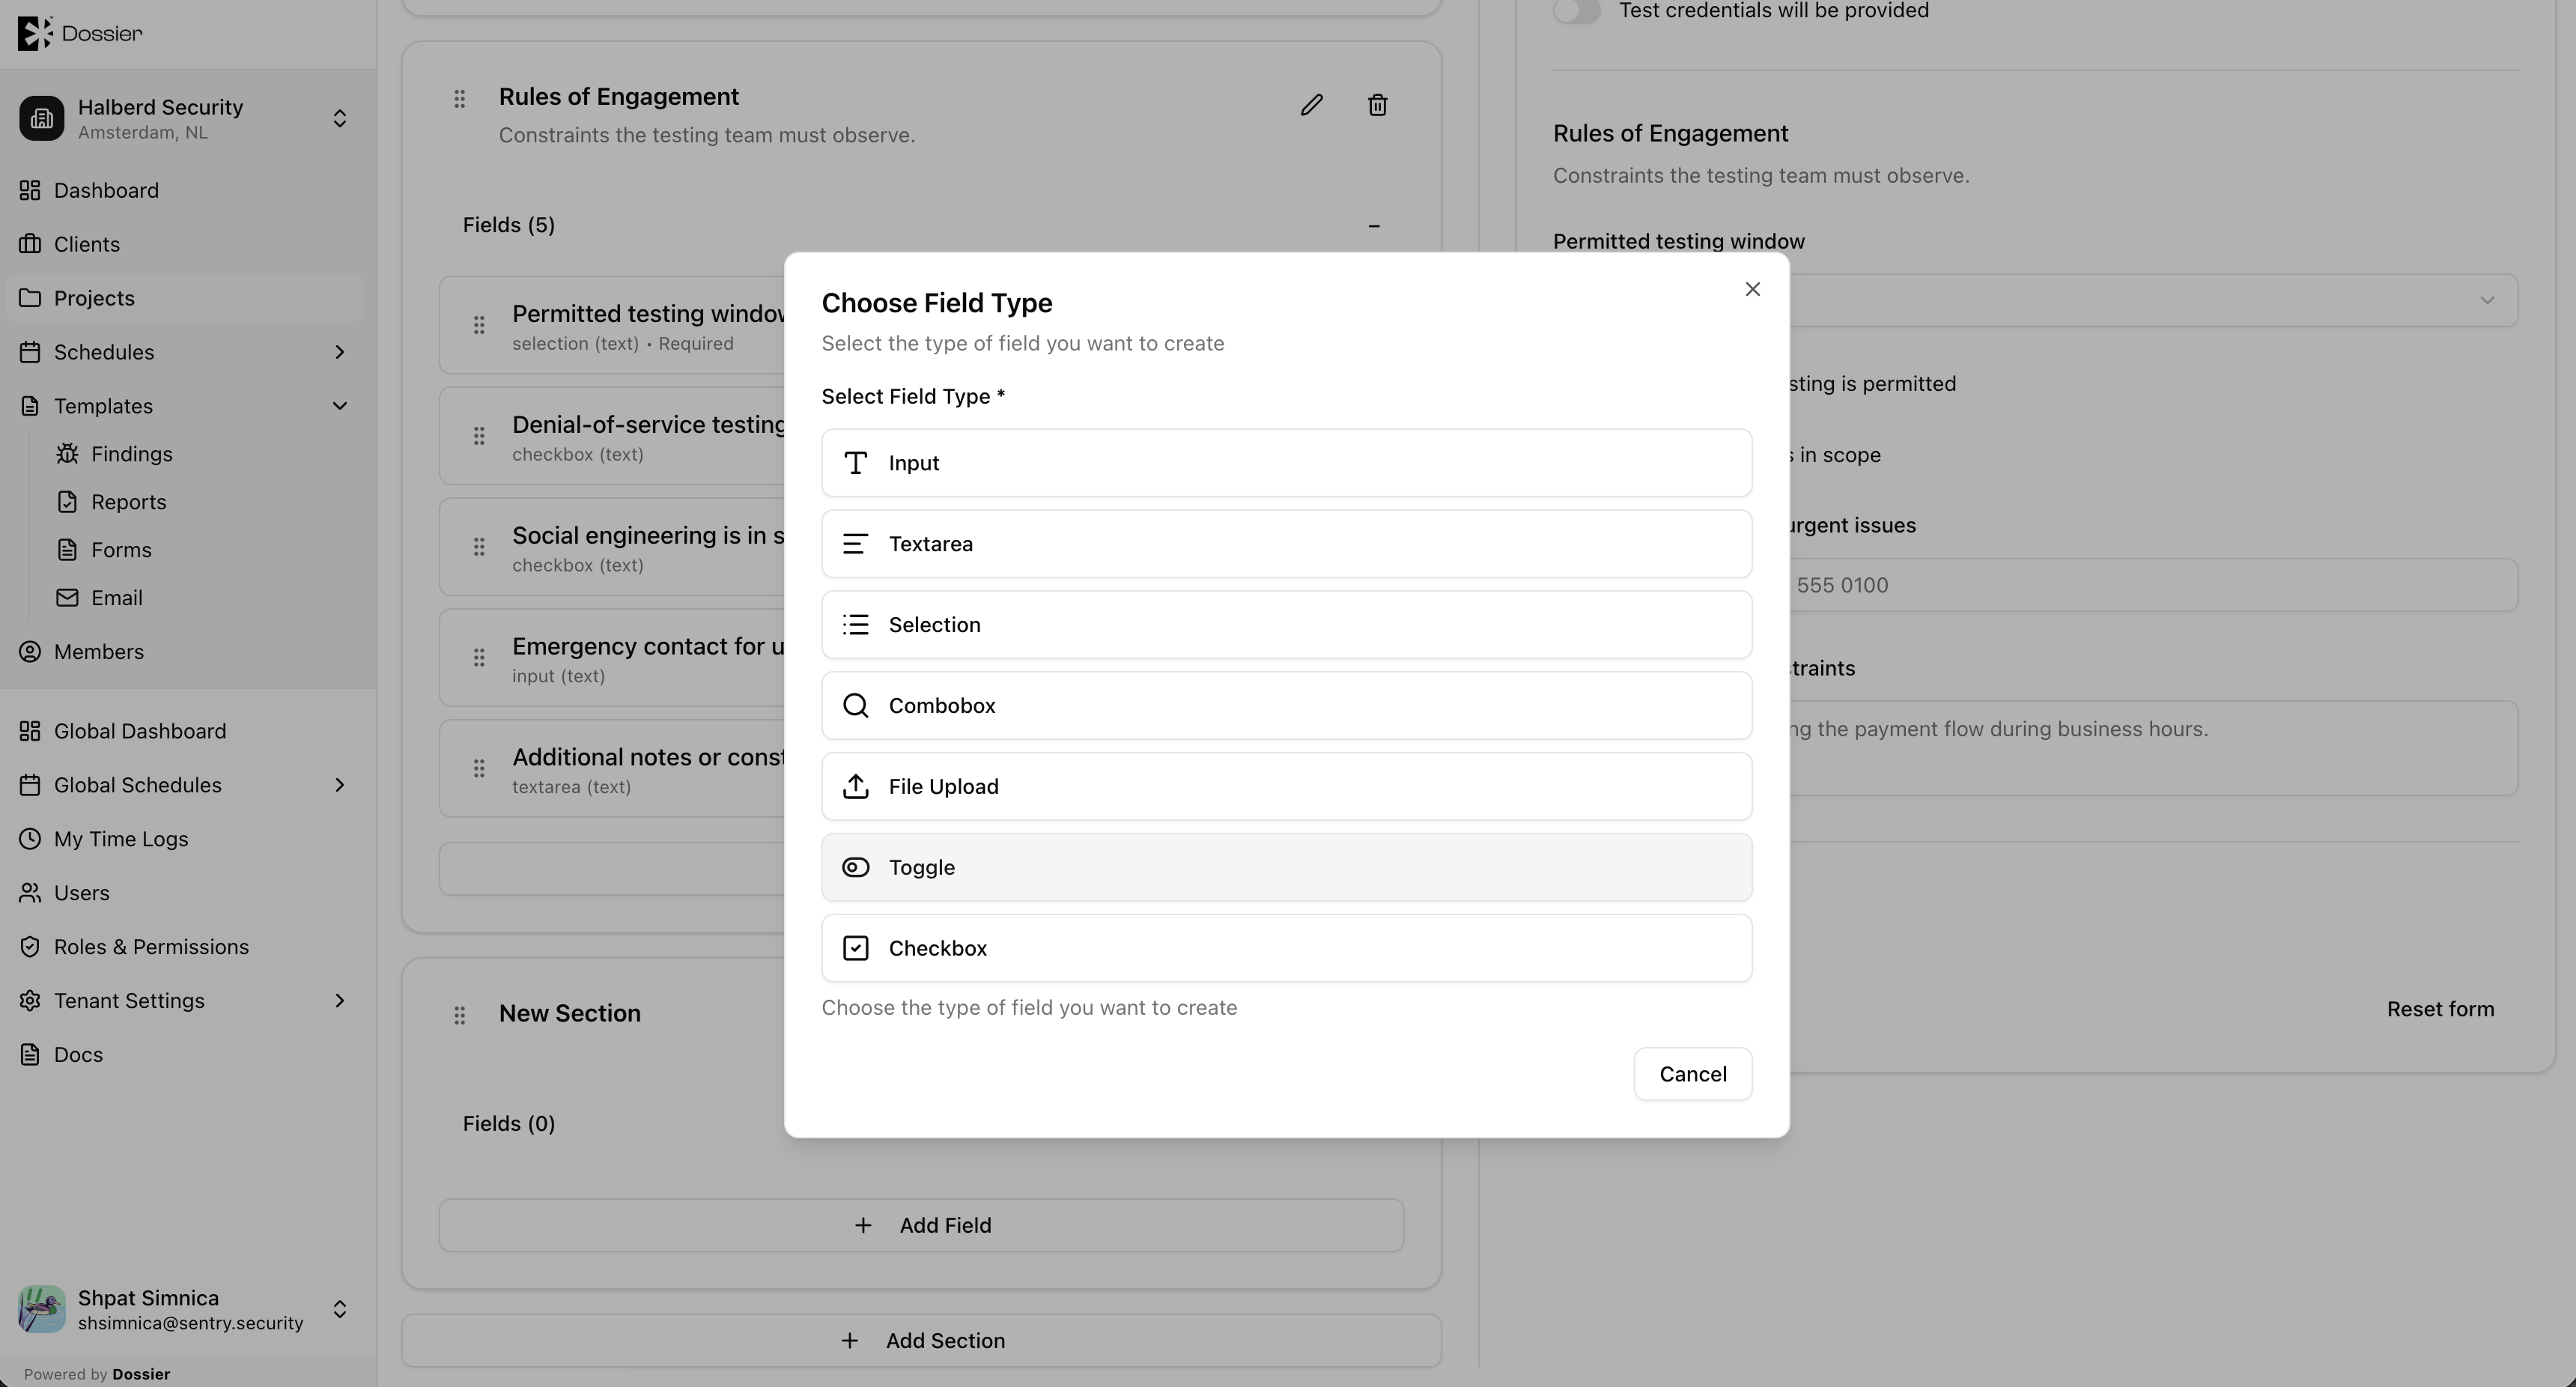
Step 2: Configure sections and fields
Add sections, define field types (text, select, file upload, etc.), and set validation rules.
Step 3: Save
Changes are saved automatically or via the Save button.
Sharing a Form Publicly
Step 1: Click Share
From the Forms list or form detail page, click Share.
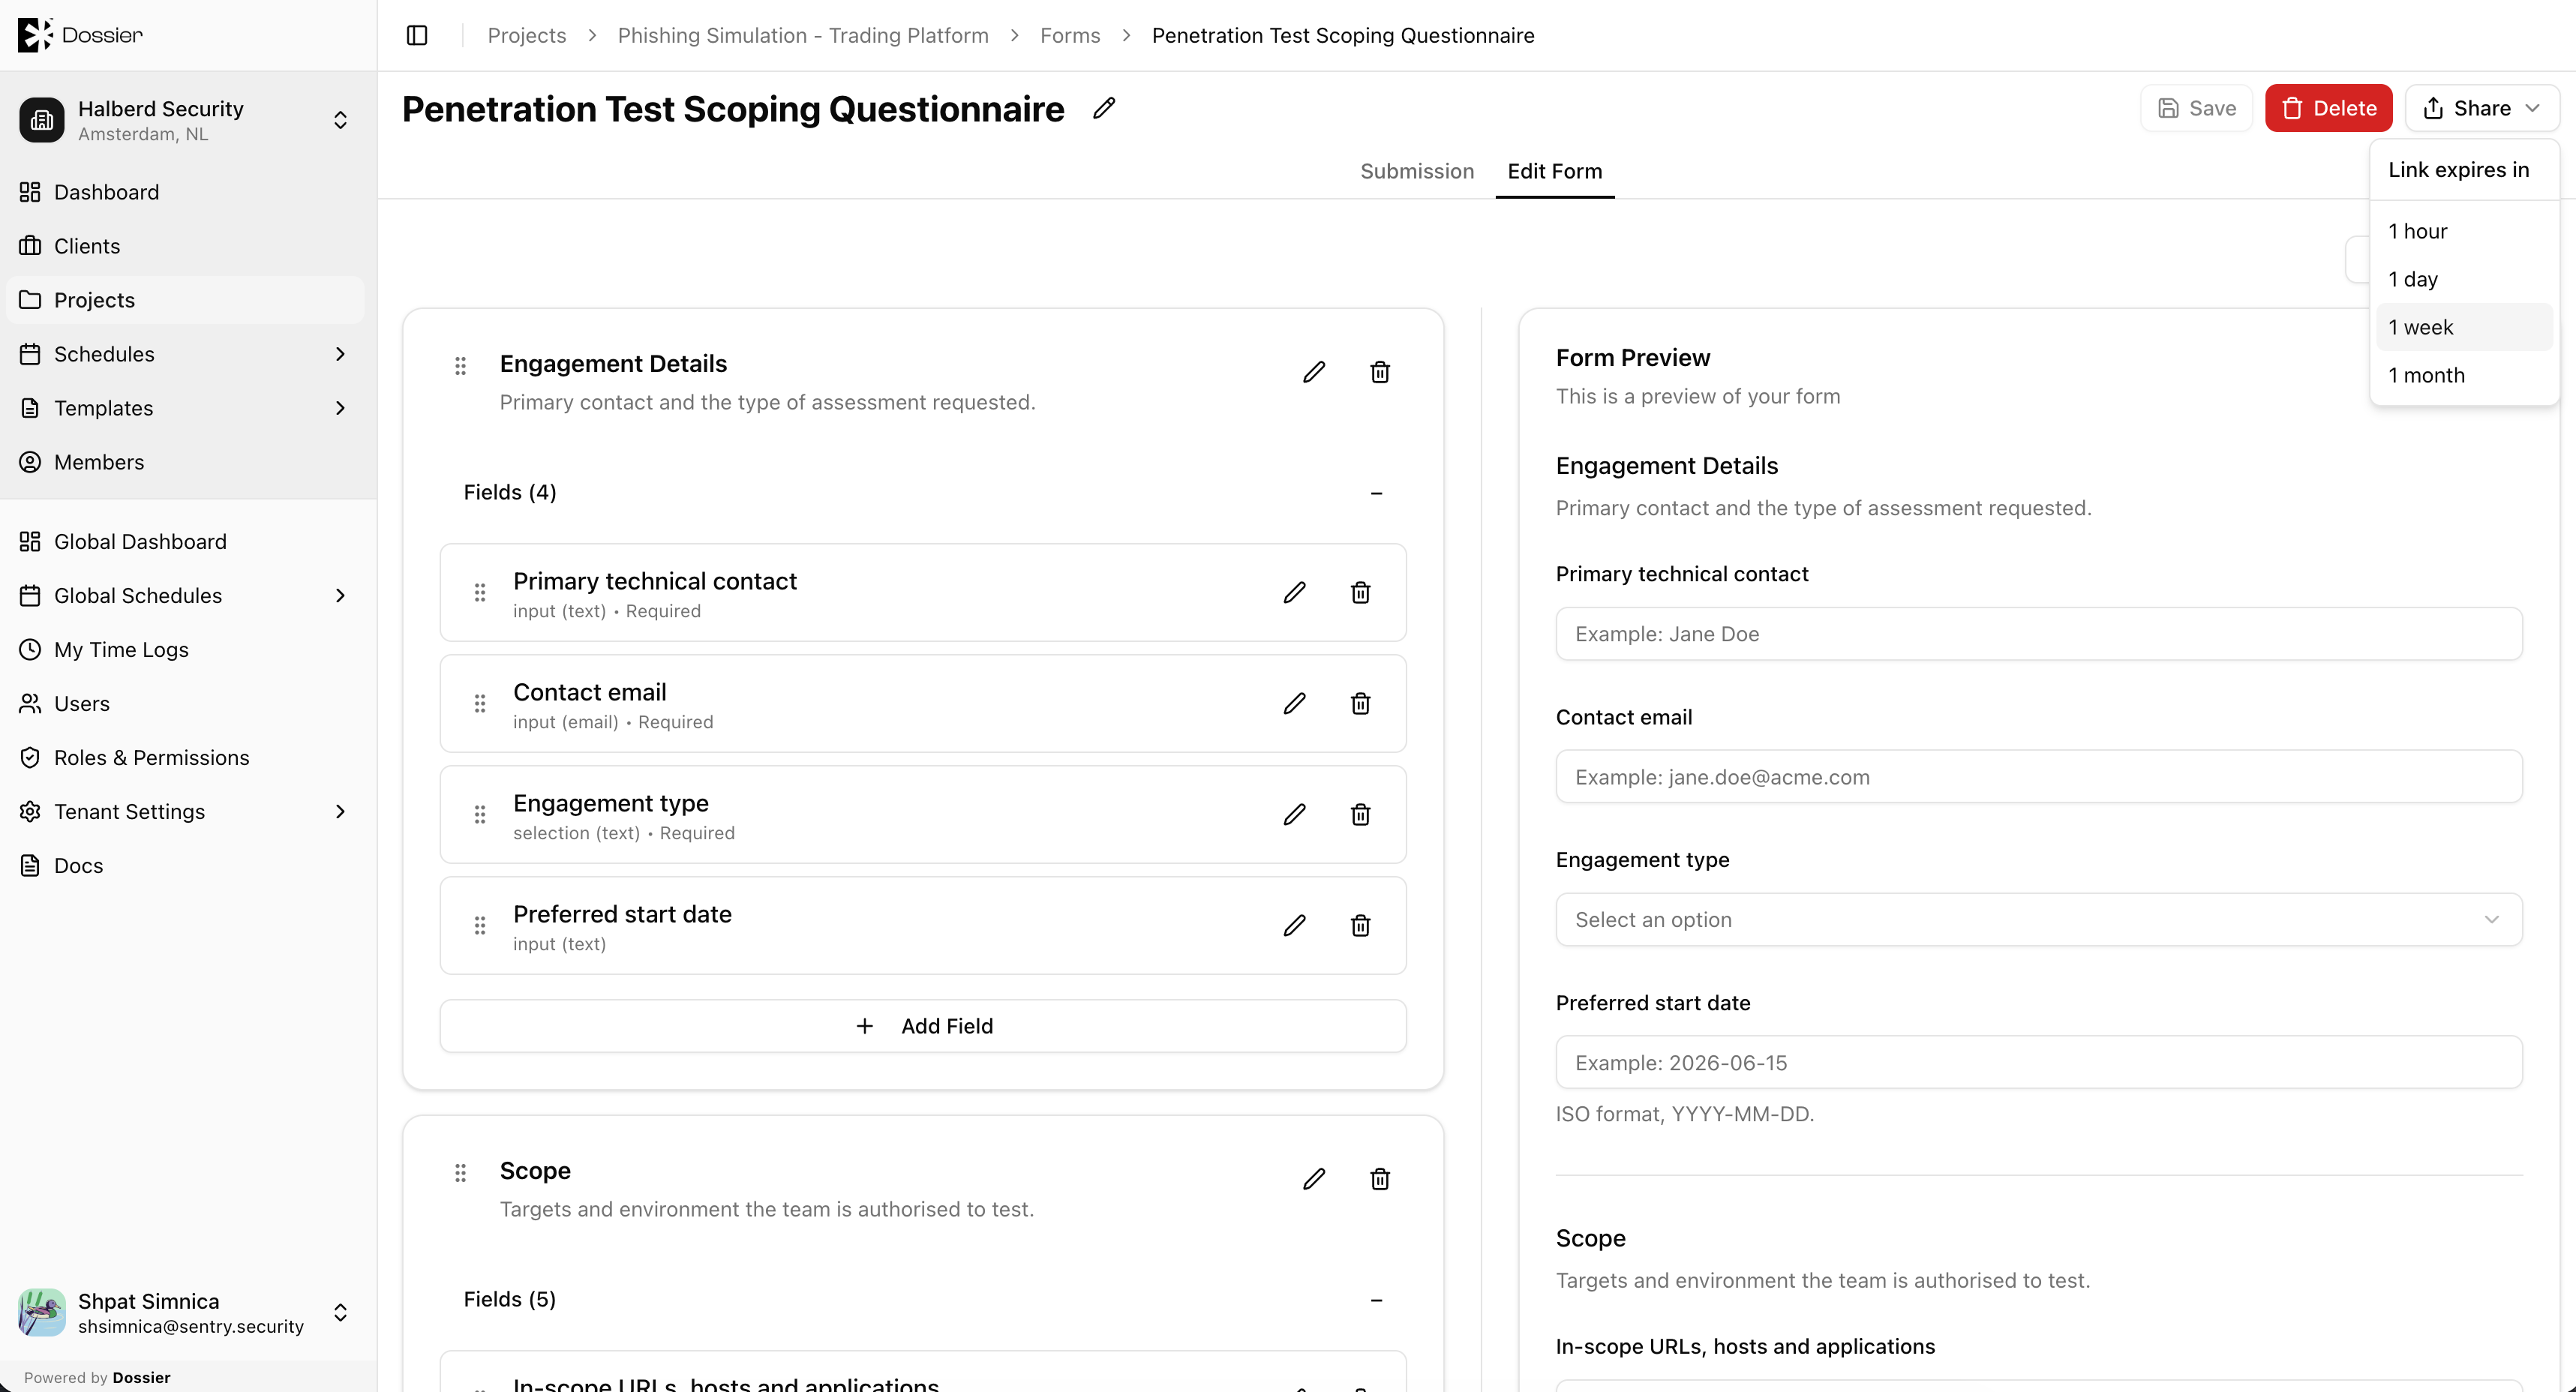
Step 2: Set link expiry
Choose an expiry duration: 1 hour, 1 day, 7 days, or 30 days.
Step 3: Copy the link
Copy the generated public link. The link format is /forms/:token and does not require authentication.
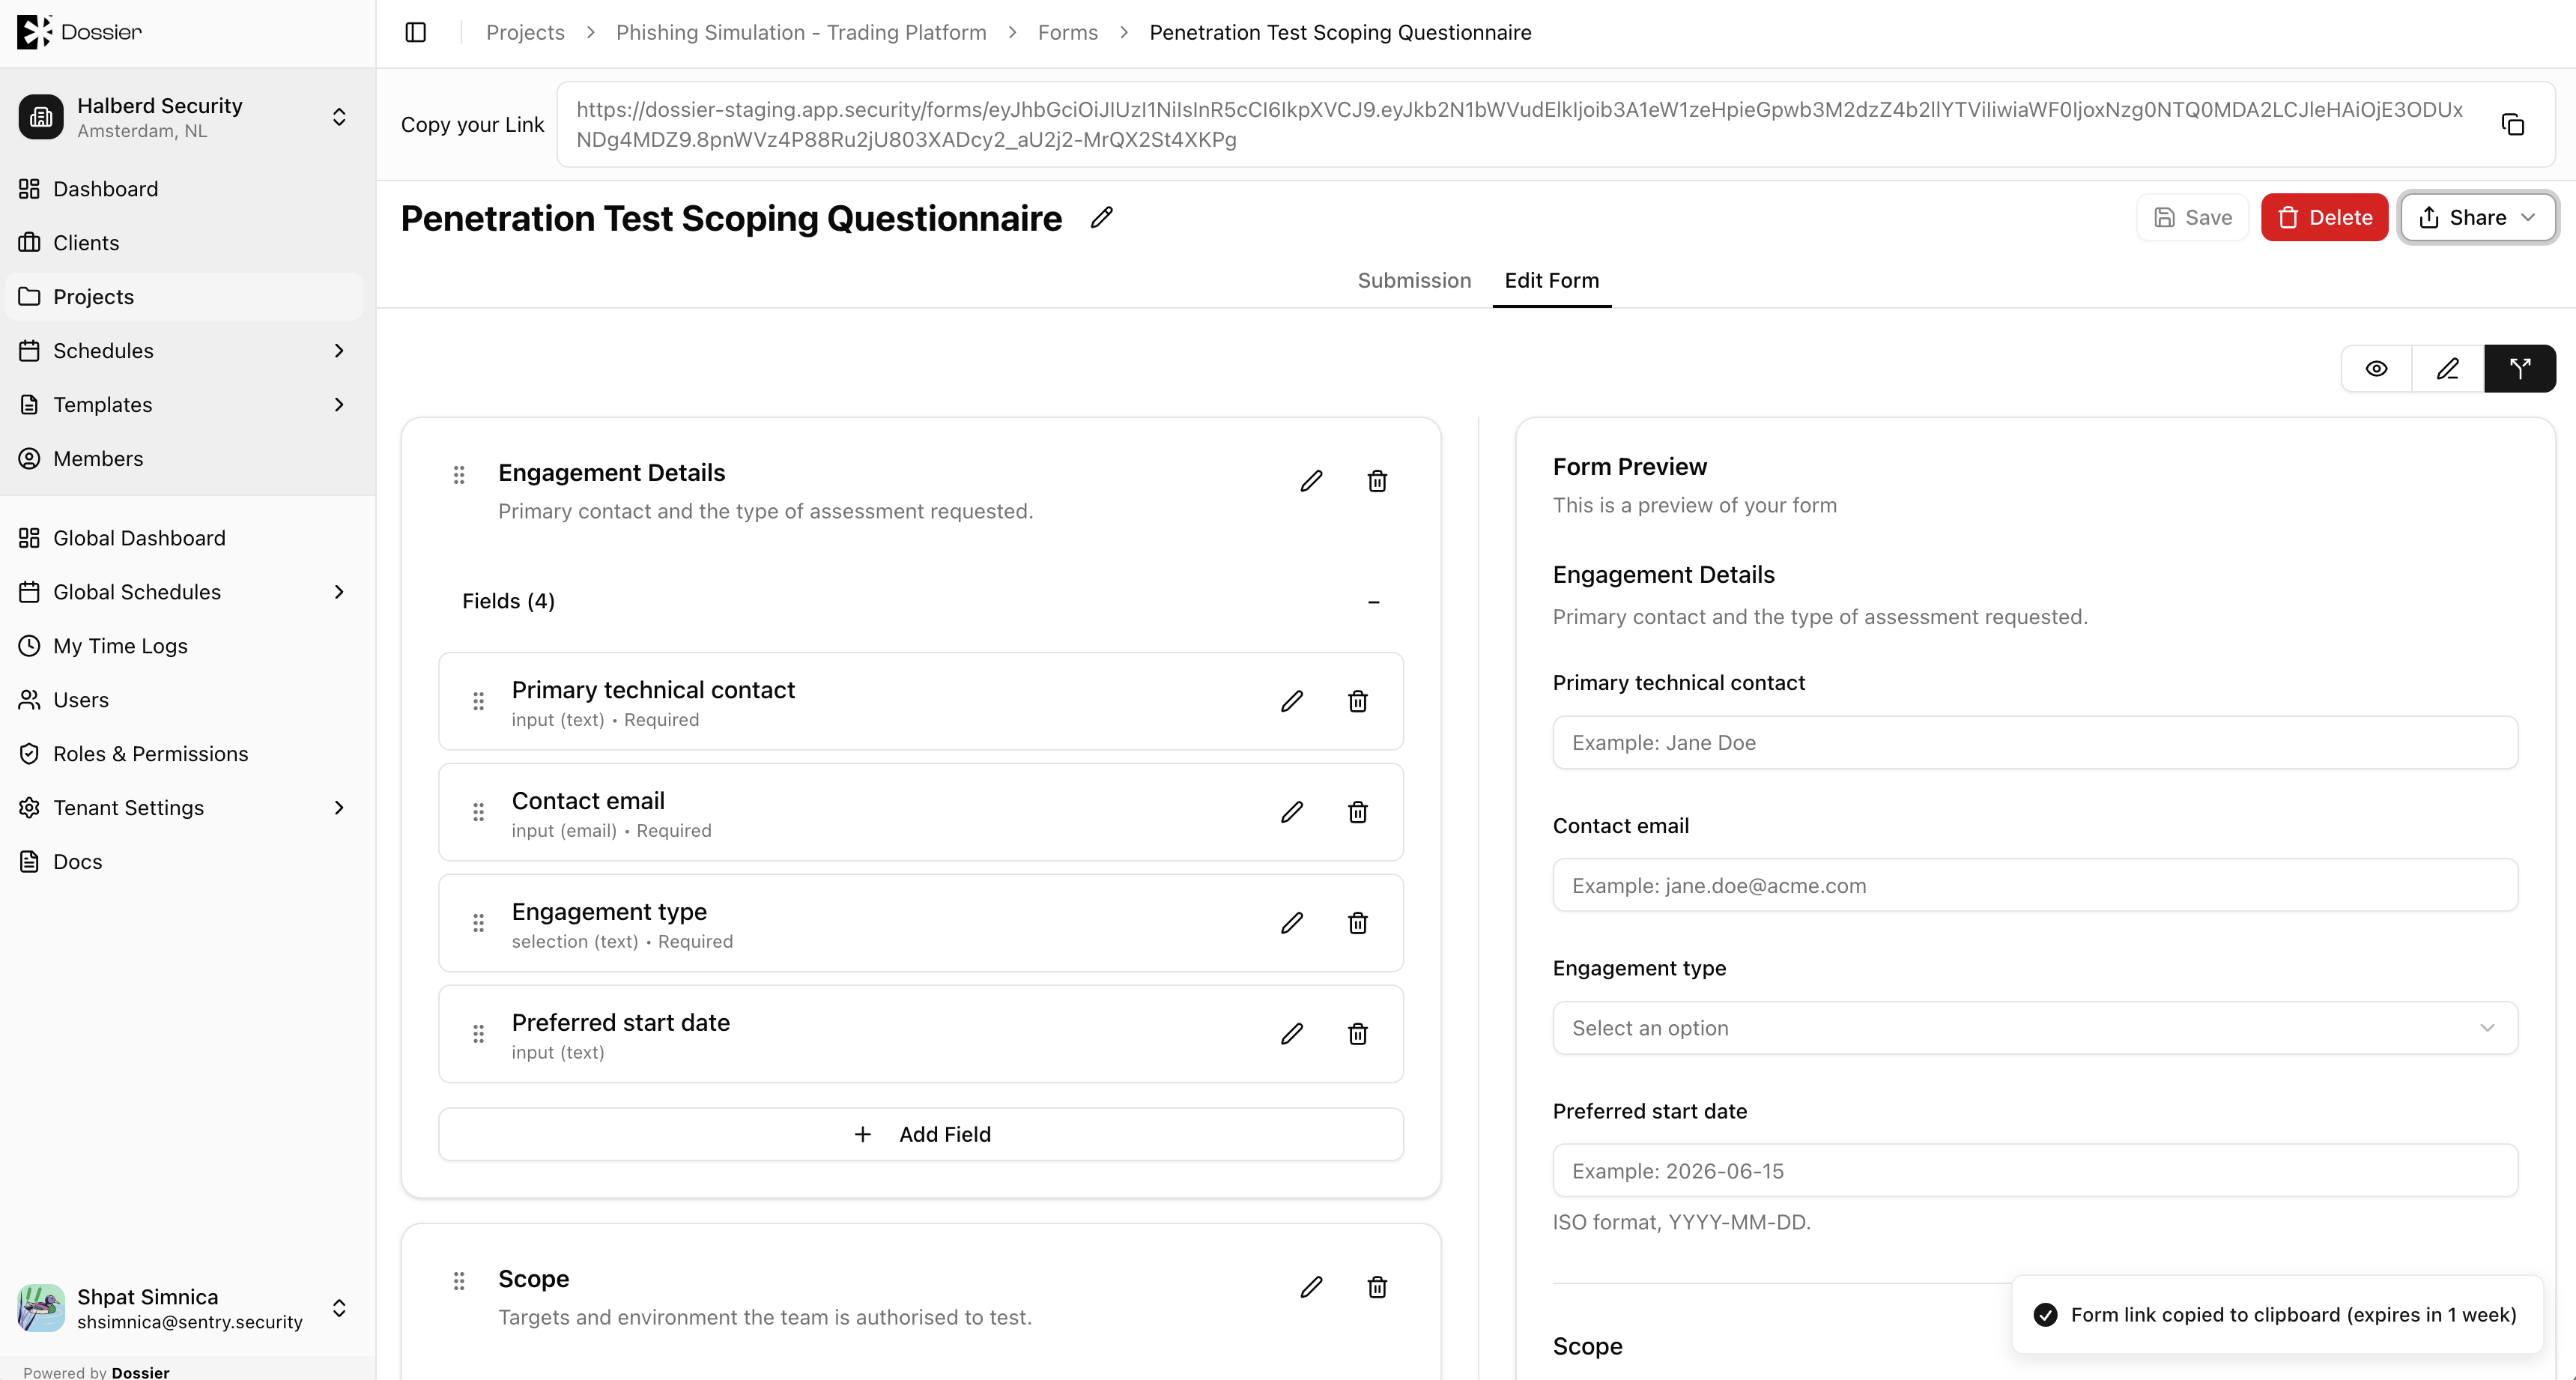
Step 4: Send to client
Share the link with the client via email or your preferred channel. Optionally configure email recipients who are notified on submission.
Submitting a Form
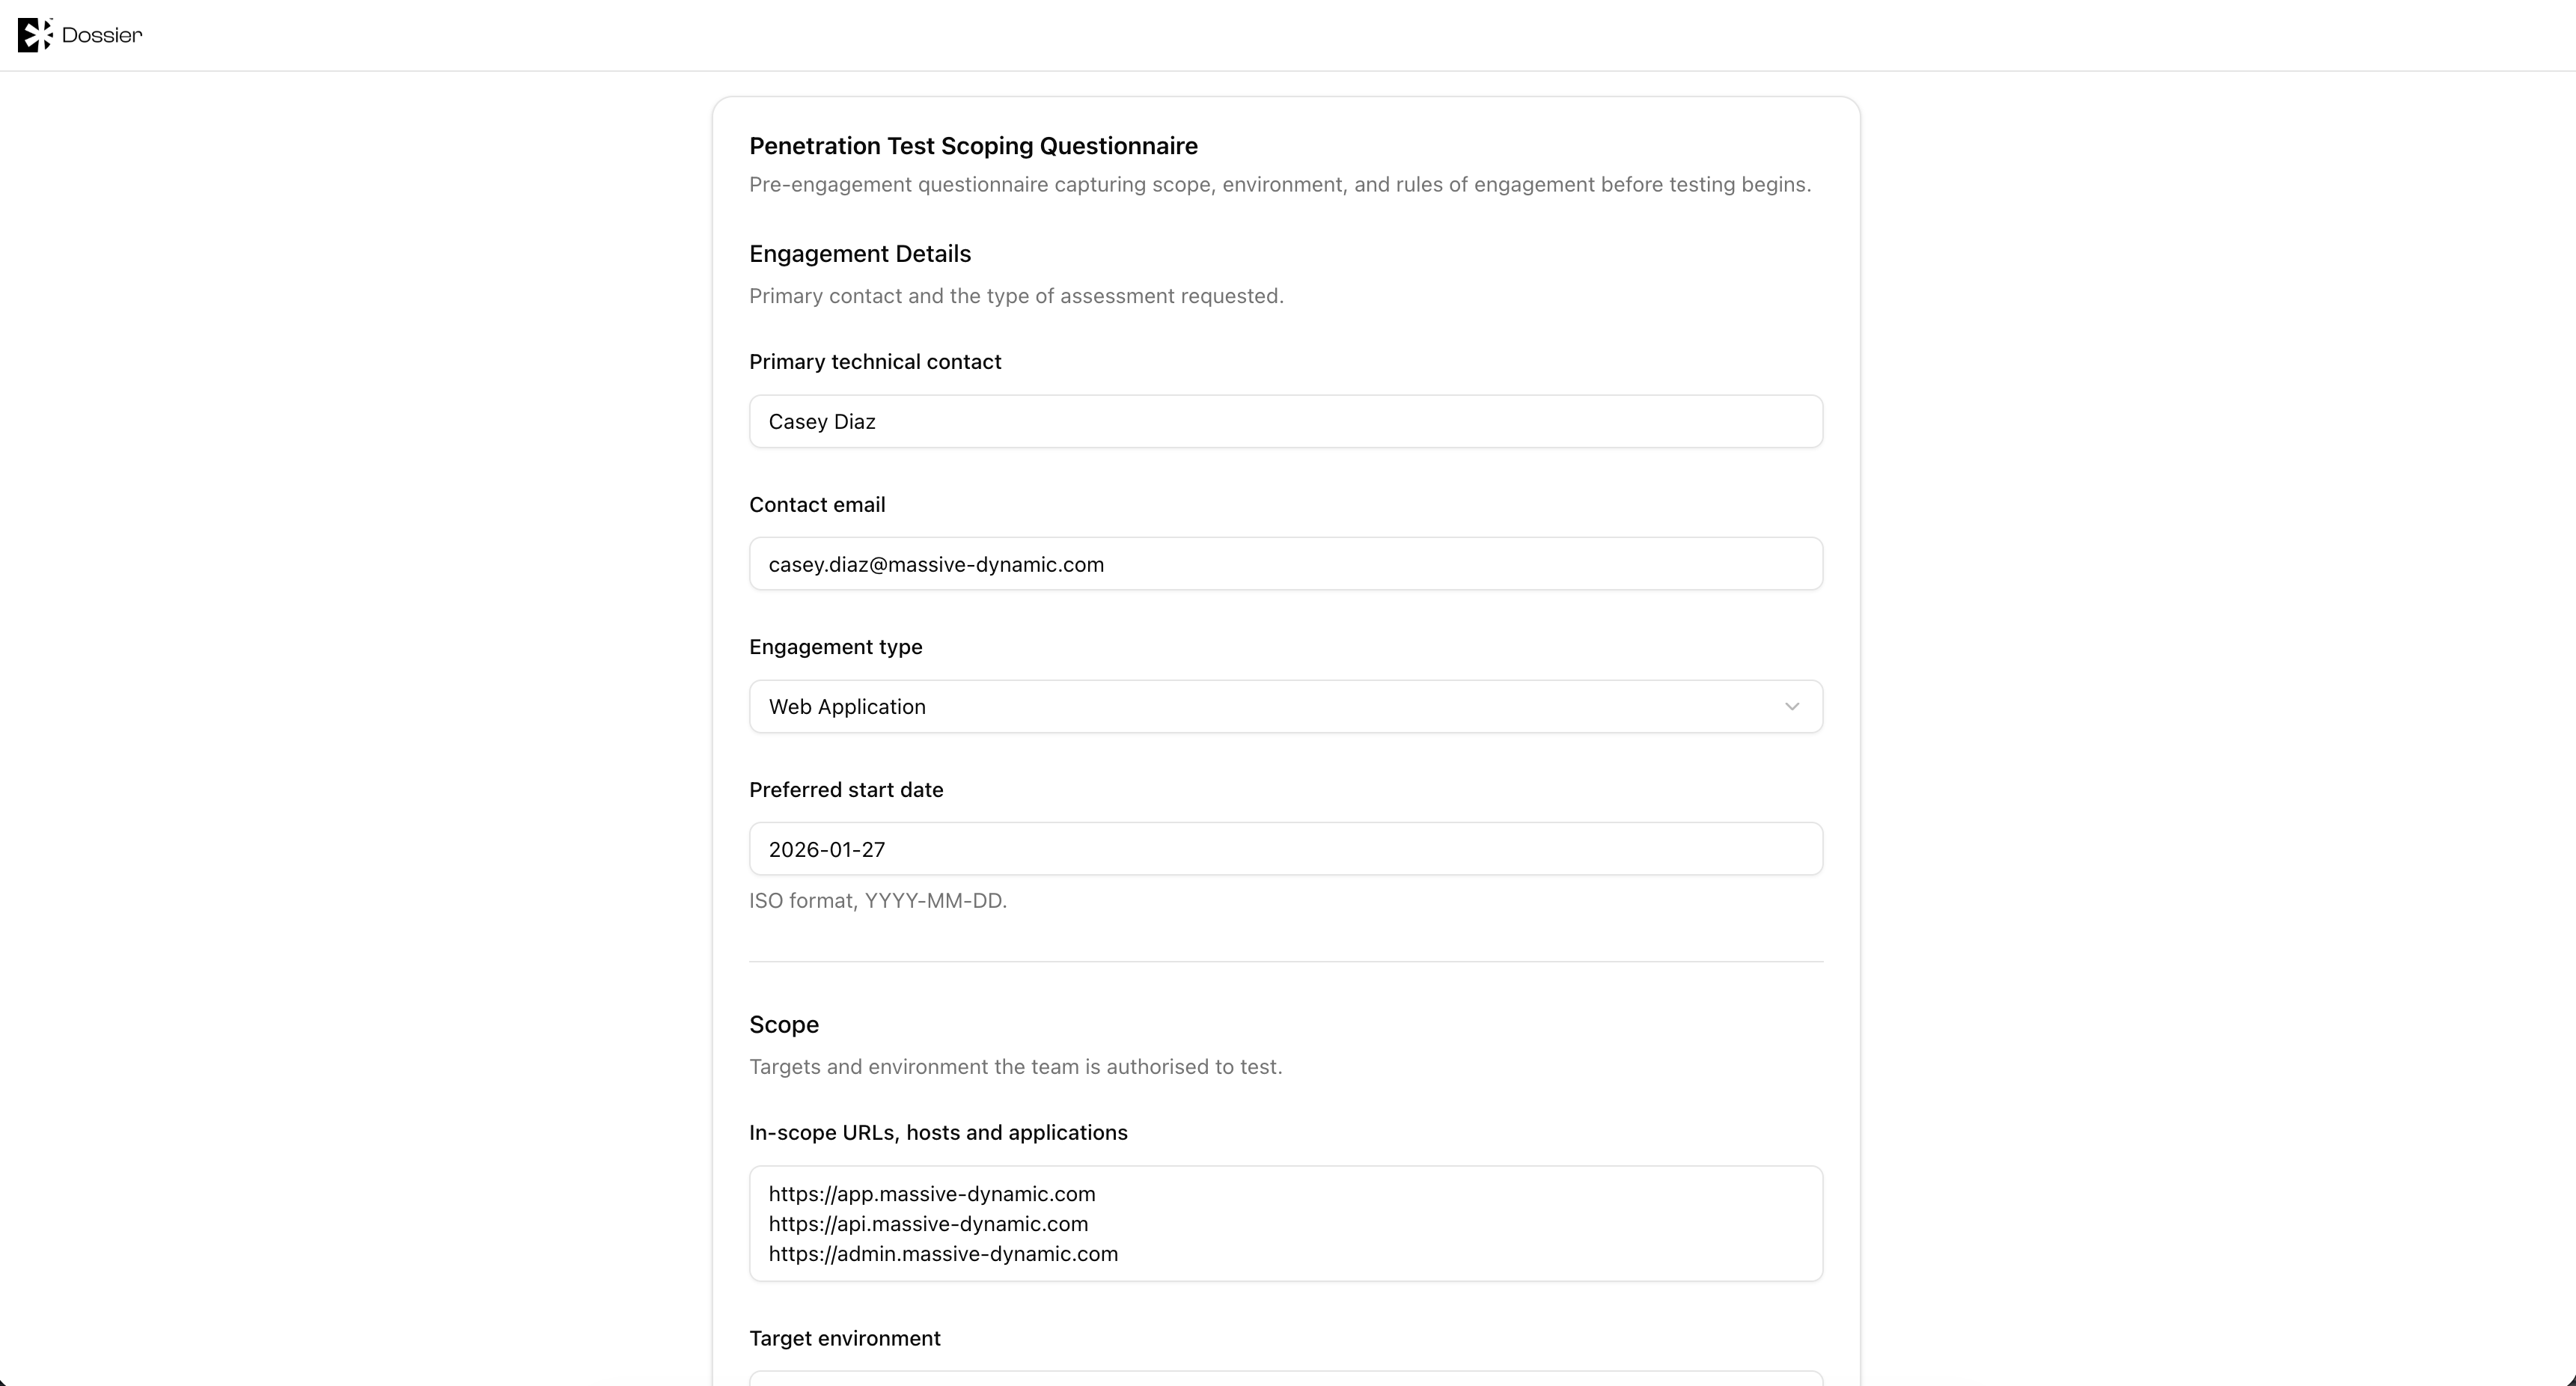
Public submission
The client opens the shared link, fills in the form fields, and clicks Submit. File uploads are supported.
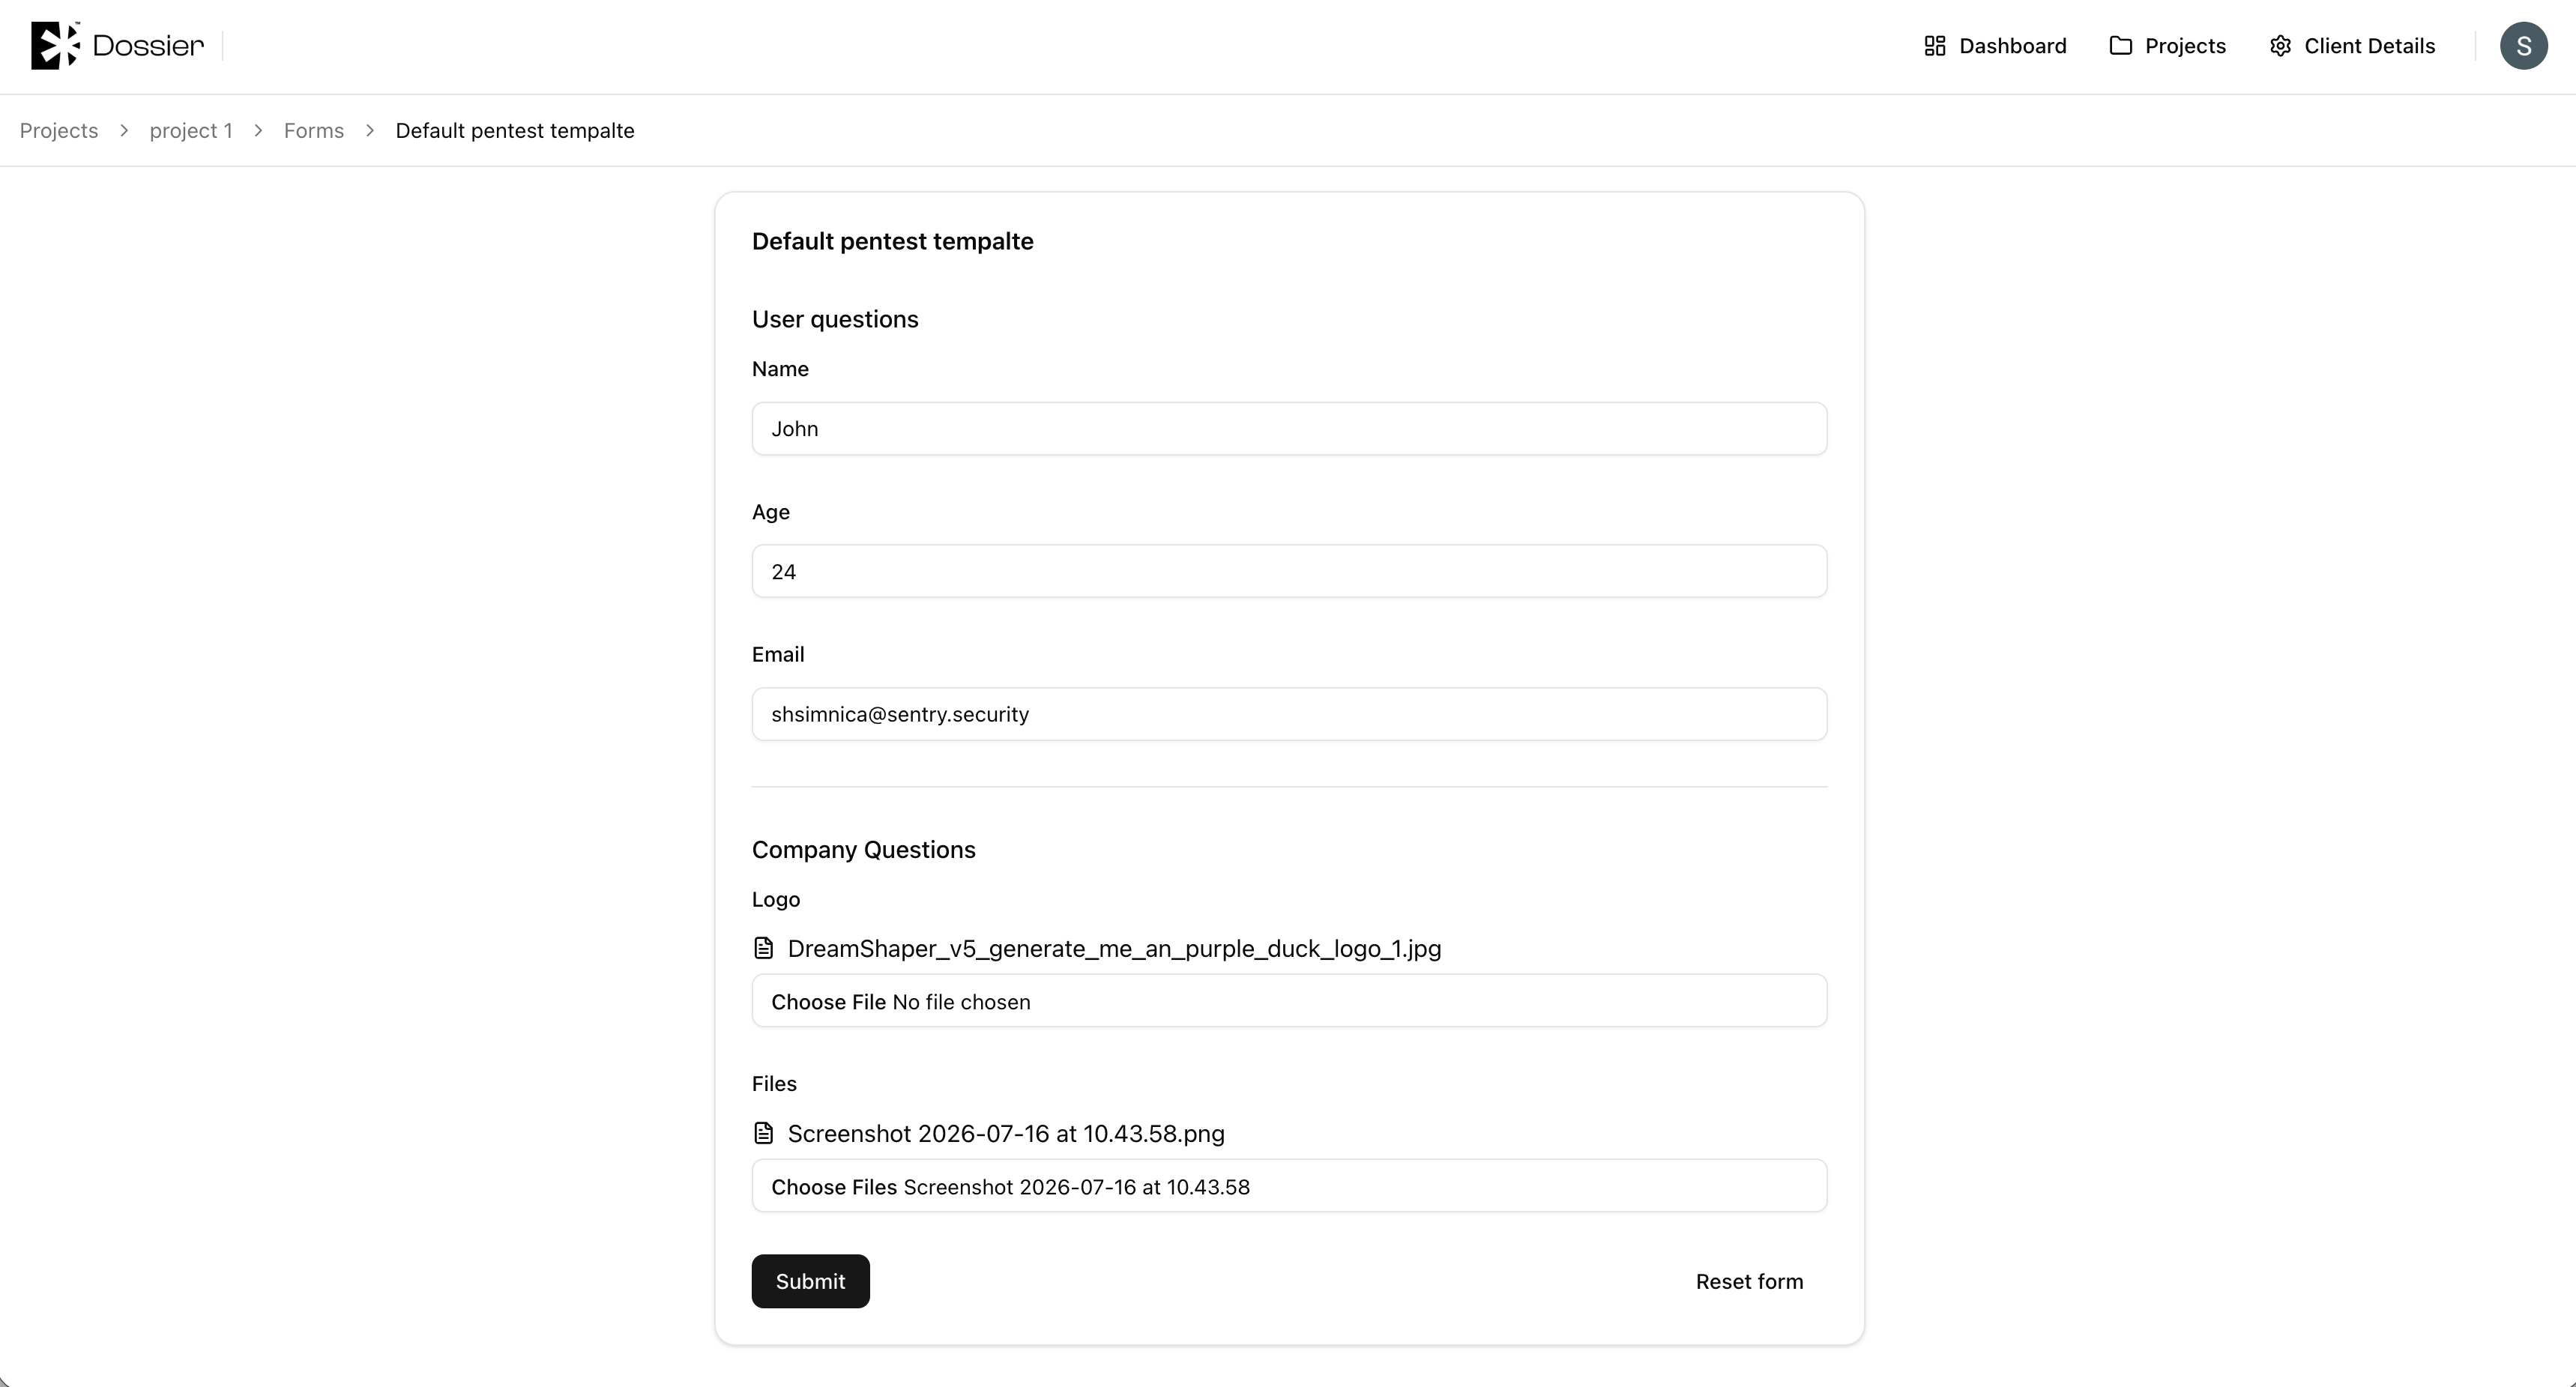
Internal submission
Team members and client accounts can submit forms from within the app at /projects/:id/forms/:formId/submit.
Viewing Submissions
After submission, form values are stored on the project form. View submitted data from the form detail page.
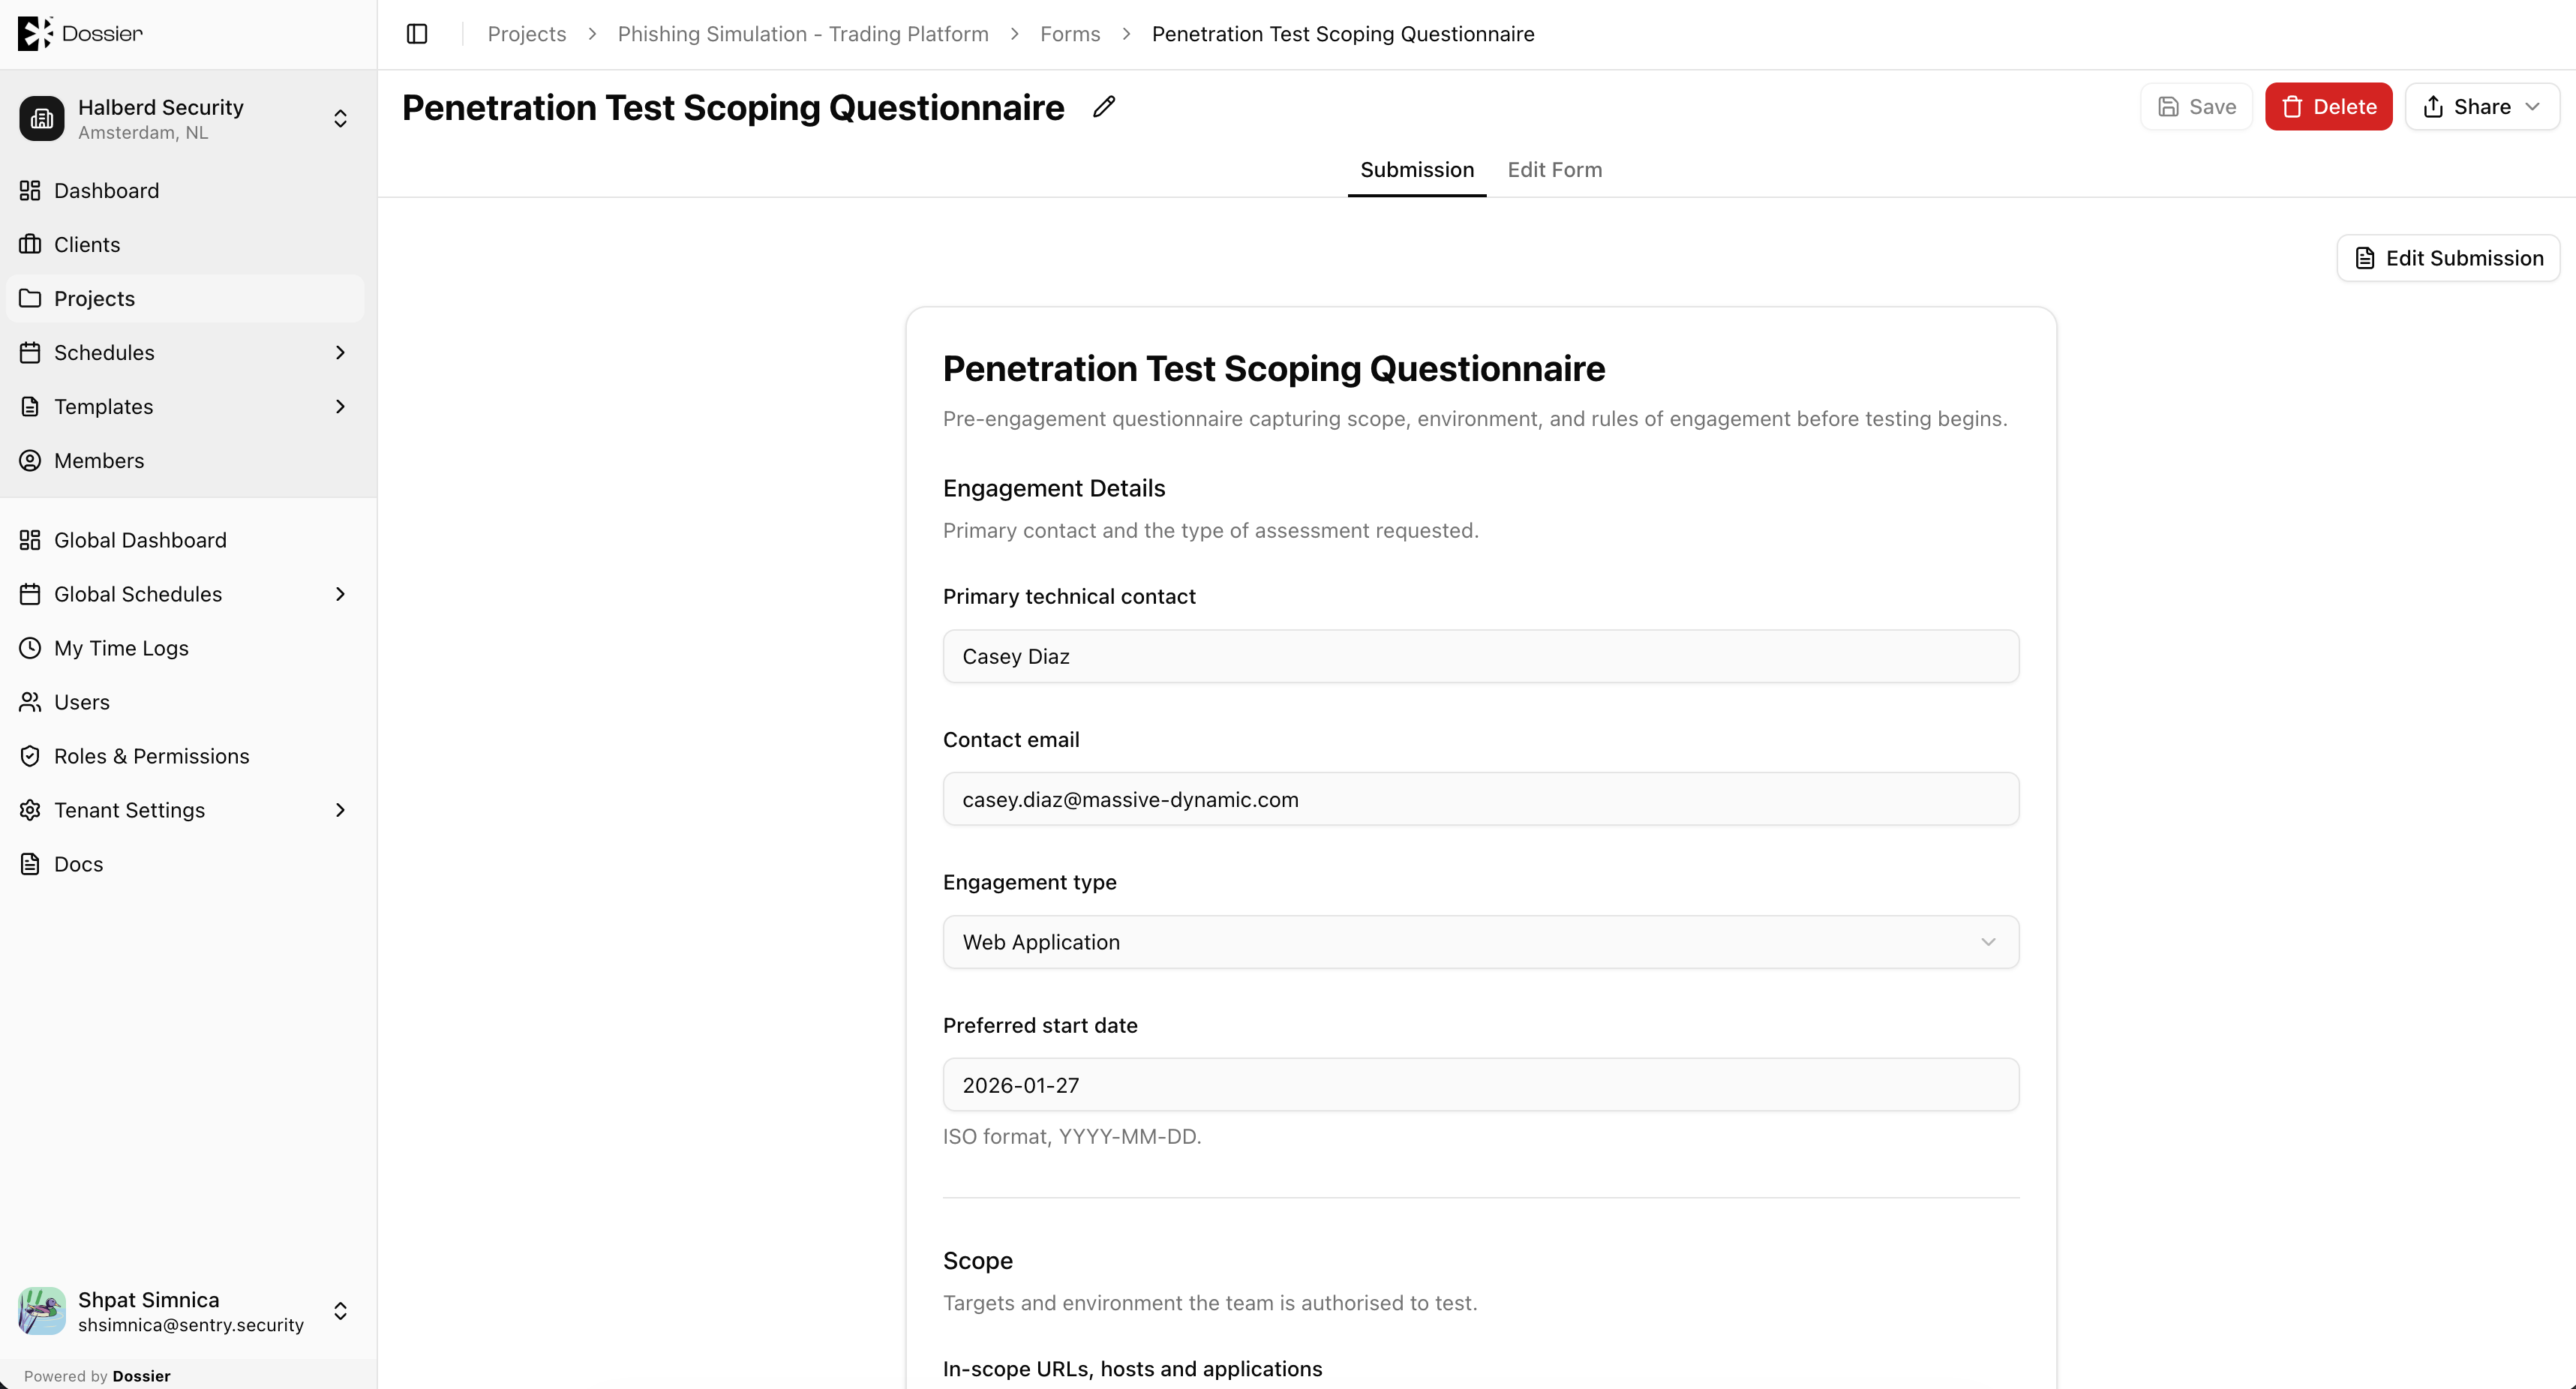
When a form is submitted, Dossier sends a Project Form Submitted email to configured recipients.
Deleting a Form
- From the Forms list, use the row action menu or bulk delete.
- Confirm in the dialog.
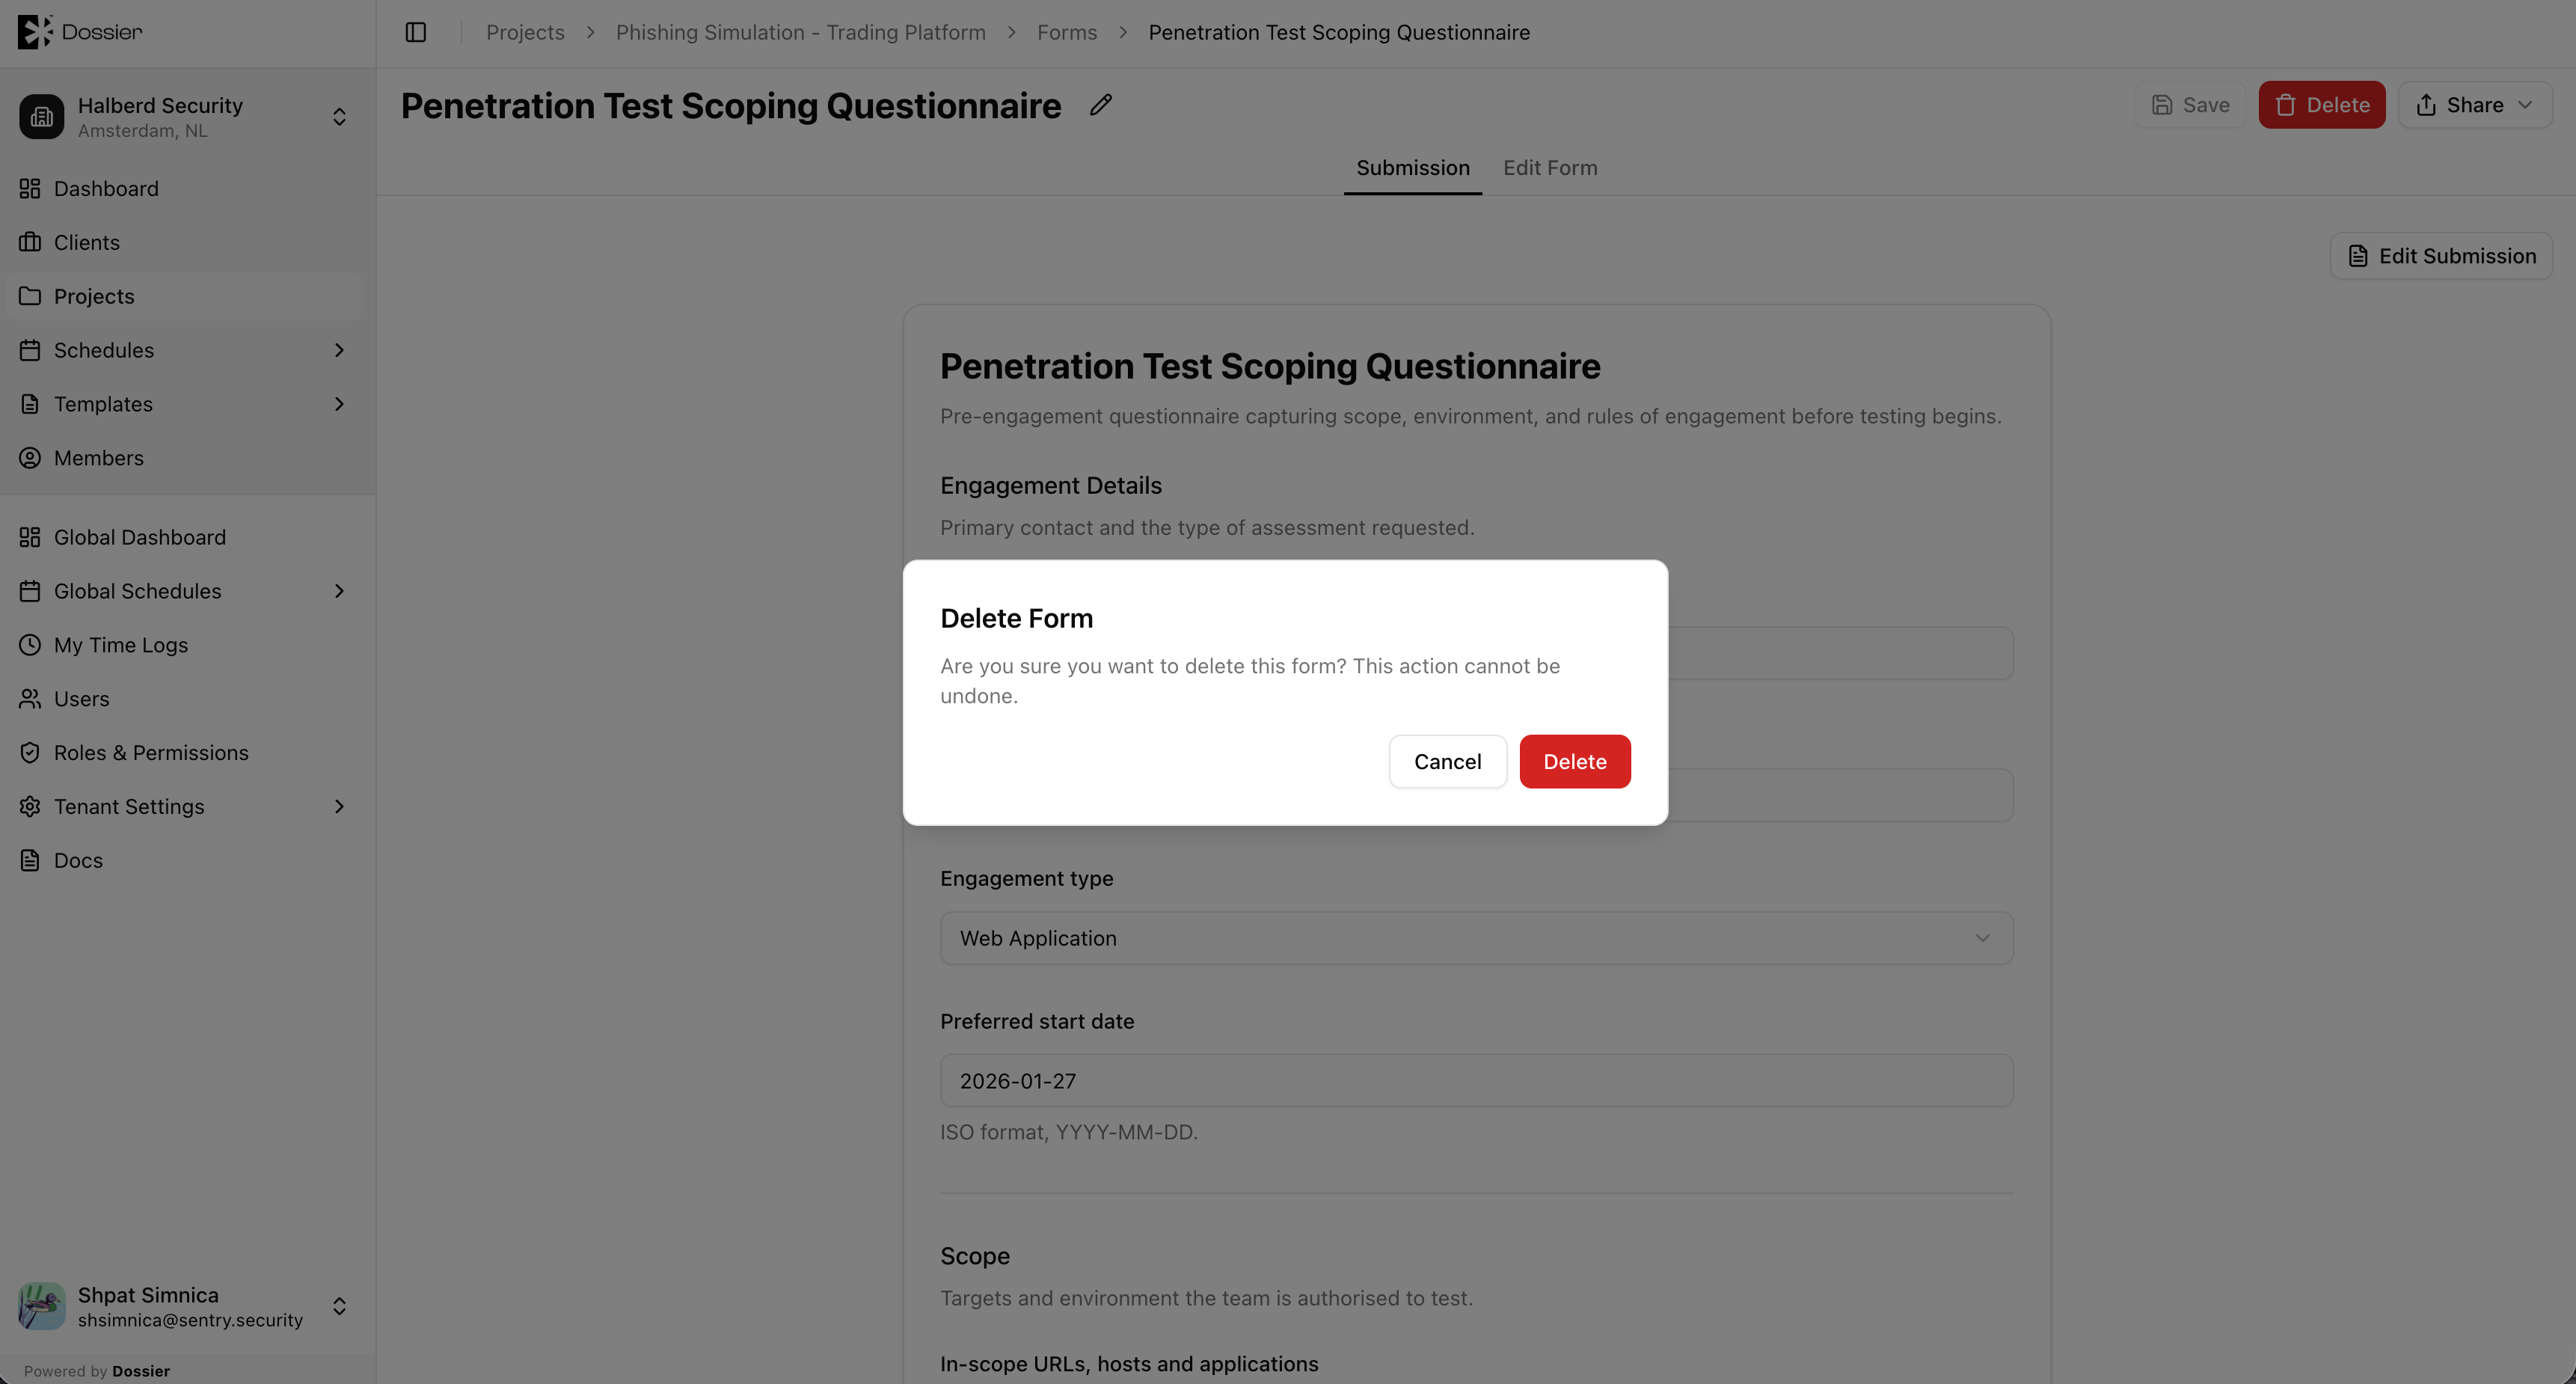
Deleting a form permanently removes all submissions and uploaded files.